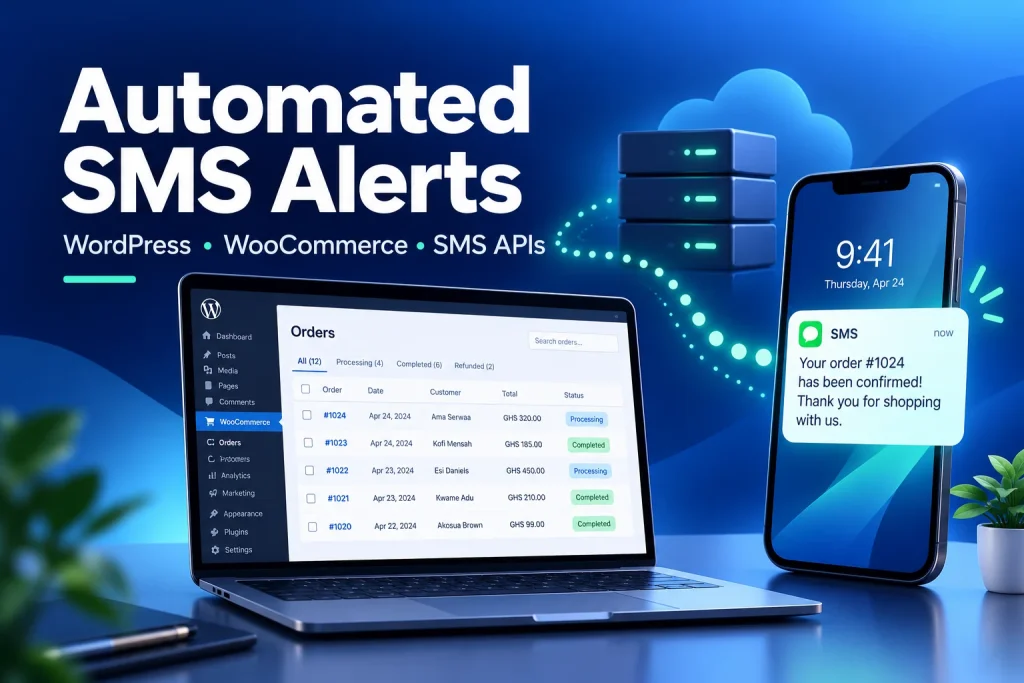
Automated SMS alerts help your WordPress site keep customers informed without sending every message manually. Connect WooCommerce to Arkesel, mNotify or Hubtel, and your store can send order confirmations, payment updates and delivery notifications straight to a customer’s phone.
At Aveshost, we help businesses build websites that do more than display products. In this guide, you will connect an SMS gateway, set up useful order messages and test the workflow before switching it on for customers. You will also learn how login codes differ from ordinary notifications and how to keep your SMS spending under control.
Table of Contents
How automated SMS alerts work in WordPress
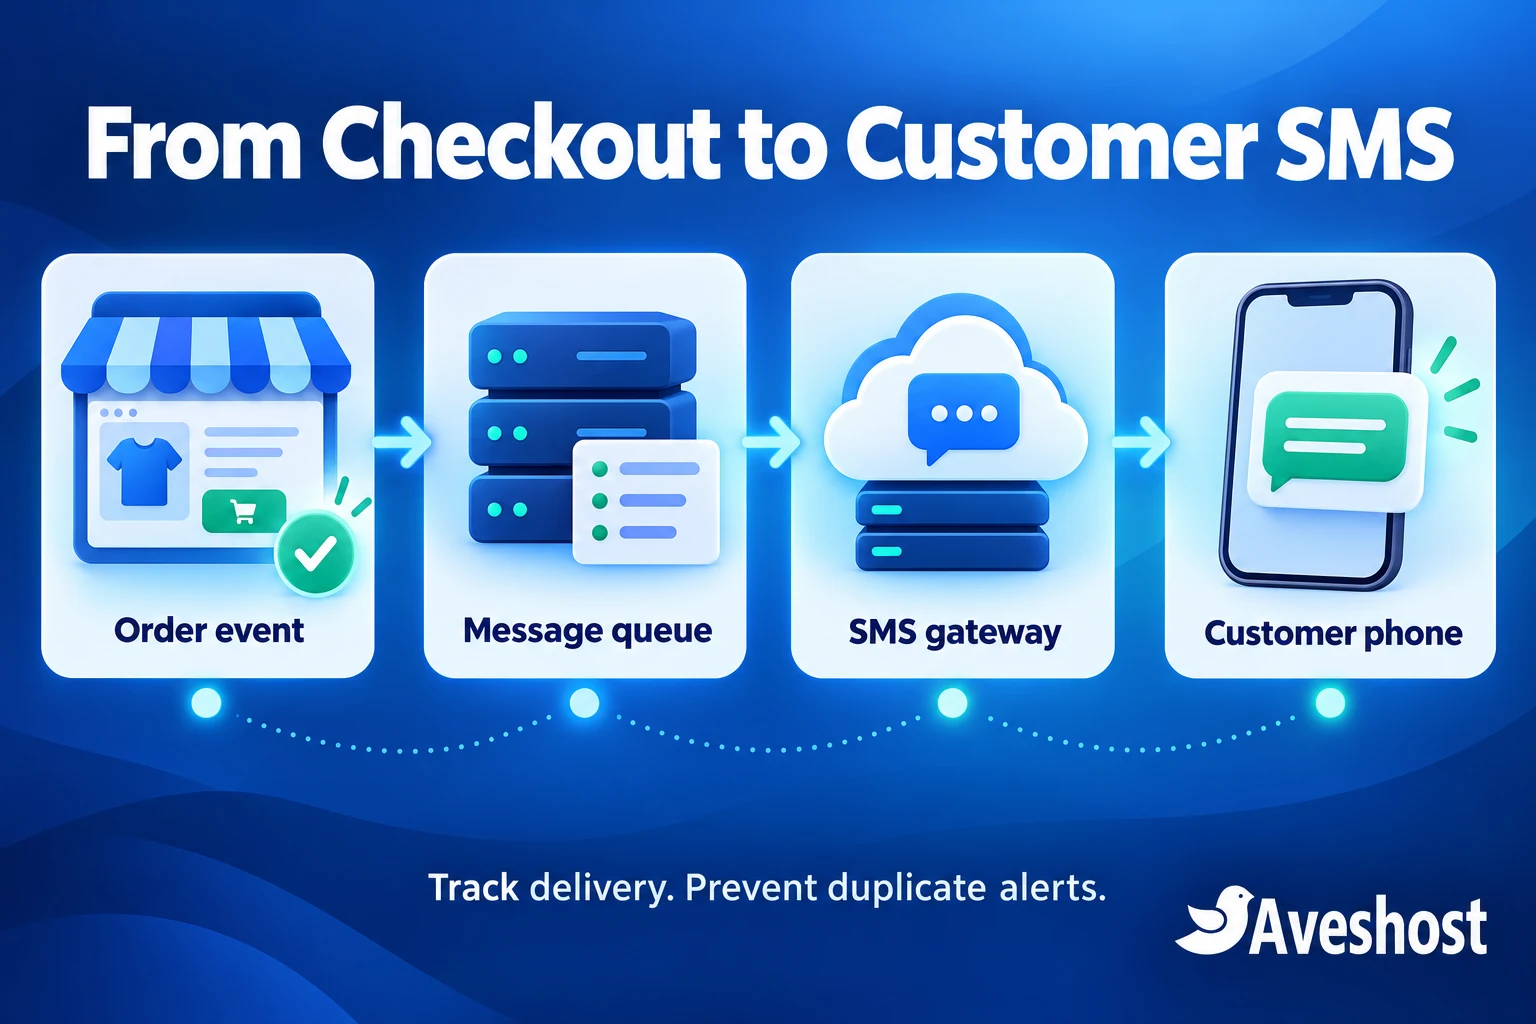
WordPress detects a meaningful event, such as a new order or a confirmed payment. Your SMS connector builds a message, sends an authenticated request to the gateway, and records the result. The gateway then routes the SMS to the recipient’s mobile network. Customers do not need mobile data to receive a standard SMS, although their phone still needs network coverage.
For a busy store, the best workflow puts messages into a background queue. Checkout finishes promptly while the queue handles sending, delivery tracking and controlled retries. An accepted API request means the gateway has received the message; a delivery report tells you more about its final status.
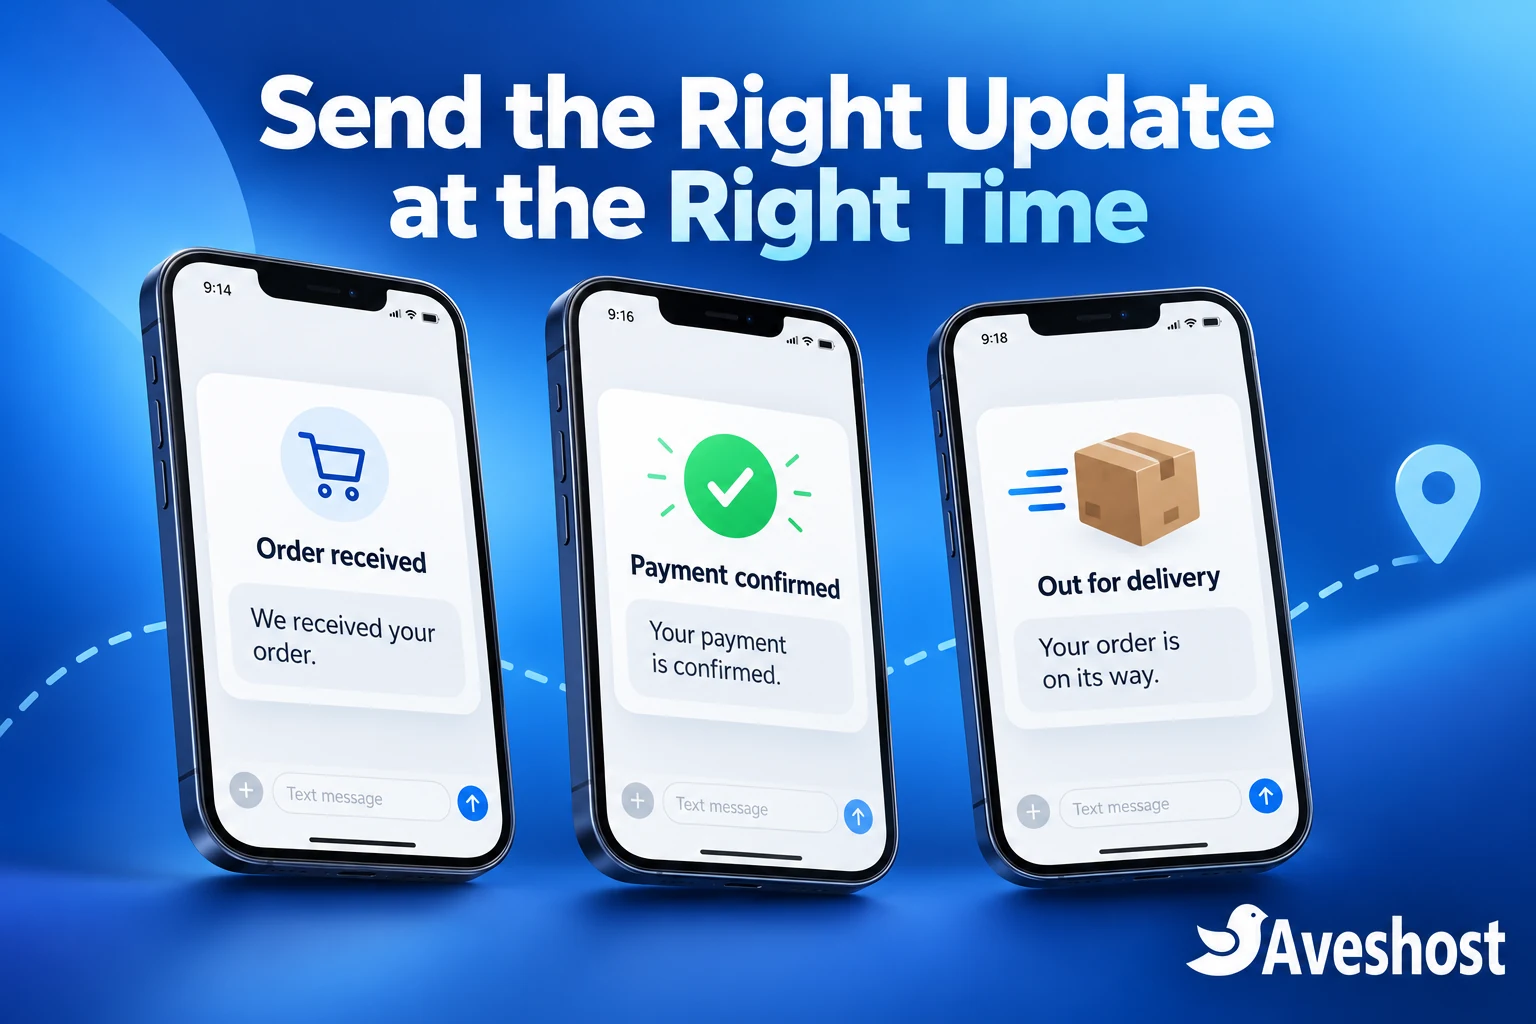
- Order received: acknowledge that a customer placed an order.
- Payment confirmed: send after your store verifies a successful payment.
- Dispatch update: notify the customer when the parcel actually leaves your shop.
- Delivery update: use a verified delivery event from your fulfilment process.
- Login or checkout code: use a dedicated verification flow with expiry and attempt limits.
Step 1: Prepare your WordPress site and SMS account
Start with a working WordPress installation, an active WooCommerce store if you sell online, and HTTPS on your domain. Take a backup and use a staging copy for the first configuration. Keep WordPress, WooCommerce and your chosen SMS plugin updated, and check compatibility with your checkout type and PHP version.
Our managed WordPress hosting gives your business a home for its website. Developers building a separate automation service can use our self-managed VPS hosting to run the worker and custom integrations. Choose the approach that fits your store’s workload and your team’s development needs.
- Create your SMS account and generate credentials for this website.
- Set up a recognisable sender ID and complete the gateway’s approval process for your destination countries.
- Add credit to the SMS account used by your API credentials.
- Capture a valid billing phone number at checkout, with the customer’s country.
- Explain transactional SMS in your privacy information; collect separate marketing consent where required.
- Prepare a test phone you control and a small test order.
Arkesel and mNotify document a maximum of 11 characters for their alphanumeric sender field. Choose a short business name that customers recognise, and follow the gateway’s country-specific sender requirements. Keep API keys inside server-side plugin settings or protected server configuration. Never place them in page content, public JavaScript or screenshots.
Step 2: Choose Arkesel, mNotify or Hubtel
| Gateway | Connection used in this guide | Credentials | Useful setup detail |
|---|---|---|---|
| Arkesel | WSMS Custom gateway using SMS API v2 | API key in an api-key header | Sandbox mode supports API testing without sending a real SMS. |
| mNotify | WSMS Custom gateway using the BMS SMS API | API key in the request URL | Use recipient as an array and check the campaign response. |
| Hubtel | WSMS built-in Hubtel connector | Client ID and Client Secret | Fund the SMS API account attached to the credentials. |
These settings were reviewed at the time of writing. Choose a gateway based on your customers’ countries and networks, sender approval, delivery reports, support and the rate shown in your account. Test the route you will actually use before committing to a large credit purchase.
A payment gateway connection and an SMS gateway connection are separate integrations. Receiving payments through Hubtel does not automatically enable order texts. Likewise, a WooCommerce payment plugin does not replace an SMS connector.
Step 3: Install your WordPress SMS connector
This tutorial uses WSMS, formerly WP SMS. Its developer documents a built-in Hubtel gateway and a Custom gateway that accepts JSON payloads and HTTP headers. Arkesel and mNotify use that custom route in the steps below. This is a third-party WordPress connector, rather than an official WordPress plugin supplied by each SMS company.
- Open Plugins → Add New in WordPress and find the WSMS / WP SMS plugin from VeronaLabs. Install and activate the core plugin.
- Choose the plugin licence and add-ons needed for your workflow. Hubtel support, WooCommerce automation and OTP features can require paid components; SMS gateway credit is a separate cost.
- For the WooCommerce Pro add-on, download the ZIP from your plugin account, upload it through Plugins → Add New → Upload Plugin, activate it and enter the licence in SMS → Add-Ons.
- Open the gateway settings. The current custom gateway guide uses WSMS → Settings → Gateway; the menu may appear as SMS in your installed version.
- Configure only one gateway for the first test. Leave customer automation disabled until a test message succeeds.
The plugin’s Custom Gateway Setup guide explains the placeholders used below. {from} is your configured sender, {message} is the message text, and {recipients} expands into JSON strings for the recipient array. Paste these placeholders exactly as shown.
Step 4A: Connect Arkesel with a custom JSON gateway
In the gateway dropdown, choose Custom. Set the send URL to the Arkesel SMS v2 endpoint:
https://sms.arkesel.com/api/v2/sms/sendAdd these headers, replacing the placeholder with the API key from your Arkesel account:
Content-Type: application/json
api-key: YOUR_ARKESEL_API_KEY
Choose Raw JSON for the body format and paste:
{
  "sender": "{from}",
  "message": "{message}",
  "recipients": [{recipients}],
  "sandbox": true
}
Set Encode Message to No, enter your sender name and save. Raw JSON mode sends a POST request. Keep sandbox set to true for the first API test: Arkesel records sandbox messages in its history without forwarding them to the mobile network or deducting SMS credit. A sandbox success therefore does not test handset delivery.
After reviewing that result, change "sandbox": true to "sandbox": false, save again and send one live message to your test phone. Use the recipient format required by Arkesel; its examples use country-code digits such as 233 followed by the national number without the leading zero. Follow the Arkesel developer documentation for your account and destination route.
Step 4B: Connect mNotify with its SMS API
For mNotify, choose the Custom gateway and use the quick SMS endpoint from its BMS API documentation:
https://api.mnotify.com/api/sms/quick?key=YOUR_MNOTIFY_API_KEYReplace the key placeholder with your own credential. Add Content-Type: application/json as the header, choose Raw JSON and use:
{
  "recipient": [{recipients}],
  "sender": "{from}",
  "message": "{message}",
  "is_schedule": false
}
Set Encode Message to No, save and send a short live test. The documented API uses the singular field recipient, rather than Arkesel’s recipients. Keep that difference intact. Do not add OTP-specific fields to an ordinary order notification.
The mNotify BMS API reference includes Ghana local-format recipient examples. For stores serving several countries, validate and normalise each number to the format supported by the destination route. Do not automatically prepend Ghana’s country code to every customer number.
mNotify places its API key in the URL. Protect the plugin settings and redact full request URLs from troubleshooting logs. Check both the HTTP result and the API response: a valid connection can still return a rejected message or an account error. Record the returned campaign ID for delivery investigations.
Step 4C: Connect Hubtel with the built-in gateway
For Hubtel, select Hubtel from the gateway dropdown and enter the credentials requested by the connector. Hubtel’s programmable SMS account uses a Client ID and Client Secret. Match both values to the same SMS API account, configure your sender and save the settings.
Use the connector’s documented fields to map your Client ID and Client Secret. Then open the plugin’s Send SMS screen and send one message to your test phone. Check the message in your Hubtel reports as well as on the handset.
Hubtel’s SMS API management guide explains an easy-to-miss detail: topping up a general wallet and funding the relevant SMS API account are separate steps. If the wallet has money but the API cannot send, review the funds attached to that API account and confirm its credentials.
The WSMS Hubtel connector page lists the gateway integration. Use the installed connector’s current configuration rather than copying endpoints from an old payment or SMS code sample.
Step 5: Create WooCommerce order and delivery alerts
Once your single-message test passes, open SMS → Integrations → WooCommerce. Enable the notification types you need and choose the customer’s billing phone as the recipient. Start with an order acknowledgement and one fulfilment update; add more messages when the workflow is working reliably.
| Event | Suggested SMS template | Trigger to use |
|---|---|---|
| New order | Hi %billing_first_name%, we received order #%order_number%. We will update you shortly. | Confirmed order creation; no statement that payment was received. |
| Payment verified | Your payment for order #%order_number% is confirmed. Thank you for shopping with us. | A verified paid event from your payment integration. |
| Dispatched | Order #%order_number% has been dispatched. Check your account for the delivery update. | Your shipping or fulfilment event. |
| Delivered | Order #%order_number% has been delivered. Thank you for shopping with us. | A confirmed delivery event, not a generic order status alone. |
The plugin documents these order variables in its WooCommerce SMS variable reference. Use the variables supported by the notification you are editing, then check the rendered message with a test order. Keep messages short, identify your business and include only the details needed for that update.
Treat payment and fulfilment as separate events. A cash-on-delivery order can enter processing before money reaches your business. A completed digital order may have no physical shipment. Map each message to your actual store process so customers receive accurate information.
If your connector offers only status notifications, use neutral wording such as “We are processing your order.” For a payment receipt, have the payment integration or developer trigger the SMS after server-side payment verification. Never use a customer’s browser redirect alone as proof of payment.
Delivery messages need a fulfilment source. Connect a supported shipment-tracking integration or have staff record the real dispatch event in a controlled workflow. Avoid sending a “delivered” SMS simply because somebody changed an order to completed.
Step 6: Configure secure login and checkout OTPs
Order messages tell a customer what happened. A one-time password authorises an action, so it needs a verification system as well as an SMS delivery service. Use the plugin’s supported login or checkout verification feature instead of placing a reusable code in a message template.
For WordPress login, the documented configuration is SMS → Settings → 2FA & Login. Select the feature you intend to offer: passwordless SMS login and SMS as a second factor are different choices. The login template uses %code%; the documented 2FA template uses %otp%. Use the correct variable for the selected feature.
For WooCommerce checkout verification, configure the add-on’s checkout verification feature and test it with your actual checkout, including the block checkout if you use it. Enable customer account creation only when that is part of your intended checkout or login process.
- Use short-lived codes that can be accepted only once.
- Set resend cooldowns, verification attempt limits and per-number or per-IP request limits.
- Check that the phone belongs to the intended account before using it for account recovery.
- Keep an alternative recovery route so a delayed SMS does not lock out legitimate customers.
- Protect administrator accounts with strong authentication; SMS is exposed to phishing and SIM-swap risks.
- Keep codes, passwords and API secrets out of routine logs.
A code template can read: “Your login code for %site_name% is %code%. Do not share this code.” Confirm the expiry and rate-limiting behaviour of your installed plugin and gateway. Paying for SMS delivery alone does not add code verification, expiry or account protection to WordPress.
Step 7: Test delivery and prevent duplicate messages
Before enabling automated SMS alerts for everyone, run the full customer journey on staging and then a small live test. Use a real phone you control. For Ghana-bound traffic, test relevant mobile networks; for other countries, test the routes your customers use.
- Place a new order and confirm that exactly one acknowledgement arrives.
- Complete a successful payment and verify that the payment message uses the correct event.
- Test a pending or failed payment and a cash-on-delivery order. None should receive a false payment confirmation.
- Record a dispatch event and inspect the tracking or delivery text.
- Repeat an event or refresh checkout to check for duplicate alerts.
- Test an invalid number, exhausted credit and a temporary gateway error.
- Check delivery reports and verify that email order updates still work.
- Test OTP expiry, an incorrect code and repeated resend requests before enabling login verification.
Review three different results: the WordPress task or outbox entry, the gateway’s acceptance response, and the delivery report where available. A phone being switched off can delay delivery even after the gateway accepts the request. Keep enough information to trace the order and message ID without storing sensitive message contents unnecessarily.
For custom development, queue sends outside the checkout request. Store a unique event key, such as the order number plus the notification type, and track queued, accepted, delivered and failed states. Use controlled retries for temporary failures. When a request times out after submission, reconcile it with the gateway before resending: the first request may already have been accepted.
WooCommerce’s scheduled tasks and WordPress cron must run consistently. Have your developer check the store’s scheduled actions and queue failures. On low-traffic sites, configure a regular server cron through your hosting setup so pending tasks do not wait for a visitor to open the site.
Control SMS costs and keep your automation running
Budget for three separate items: your Aveshost hosting plan, any paid WordPress connector licence, and the SMS gateway’s message charges. The number of orders alone does not determine the SMS bill. Notification frequency, message length, destination and OTP resends all affect usage.
For example, 500 orders with three single-segment notifications each means 1,500 message segments before login codes or retries. Multiply that total by the applicable route rate shown in your gateway account. Review sender setup, taxes and any other charges before funding the account. Use Ghana cedis when budgeting for a Ghana store.
A standard GSM-7 SMS can contain up to 160 characters in a single segment; concatenated messages usually use 153 per segment. Unicode messages commonly allow 70 characters, or 67 per segment when concatenated. Emoji and some characters can change the encoding, so check the segment count of the finished template. Avoid long product lists in SMS; send a short update and let the customer view the full order securely on your website.
- Enable balance alerts and review delivery failures regularly.
- Keep transactional updates separate from promotional campaigns and honour marketing opt-outs.
- Send reminders only when they are useful; avoid repeated texts about the same event.
- Use links on your own HTTPS domain when an order page is needed.
- Back up your site before changing SMS or checkout integrations.
- Rotate credentials when staff access changes or a key is exposed.
Ready to connect your website to your customers’ phones? Start with our managed WordPress hosting, then connect the SMS gateway that suits your business. If you need WooCommerce order automation, a custom API integration or a separate VPS worker, discuss your project with our Aveshost team. We can help you plan the website and integration around the updates your customers need.
Frequently asked questions
Can WordPress send SMS without an SMS gateway?
WordPress does not deliver messages to mobile networks on its own. You need a gateway account and a plugin or server-side integration to submit the SMS.
Can I use Arkesel with WooCommerce?
Yes. Connect its SMS API through a compatible connector, such as the documented WSMS Custom gateway setup, and enable the WooCommerce notification features needed for your store.
How do I connect mNotify to WordPress?
Use its quick SMS API with a compatible custom gateway connector. Configure your API key, sender, recipient array and message body, then test a real message before enabling automation.
Does Hubtel have to provide an official WordPress SMS plugin?
No. A third-party connector can integrate its SMS service. This guide uses the WSMS Hubtel gateway with the credentials from your programmable SMS account.
Are automated SMS alerts free?
Gateway messages are billed according to your account and route. A connector can also require a paid licence. Arkesel sandbox requests are for testing and do not deliver a real SMS.
Does a processing order mean the customer has paid?
No. Cash-on-delivery and other workflows can enter processing before payment. Send a payment confirmation only after the store verifies a paid event.
Can I send delivery updates automatically?
Yes, when your fulfilment process supplies a reliable dispatch or delivery event. Connect that event to the SMS notification rather than relying on a generic completed status.
Can I use the same integration for login OTPs?
A compatible verification feature can use the SMS gateway, but it must also manage code generation, expiry, single use and attempt limits. A normal order notification does not provide those protections.
Why does the gateway show success but the SMS has not arrived?
Success can mean the request was accepted. Review the delivery report, recipient format, sender approval, route, balance and handset network availability.
Can Aveshost help with WordPress SMS integration?
Yes. Contact our support team to discuss your WordPress website, WooCommerce order alerts or custom API integration and the hosting setup that fits your project.