Learning how to change PHP version in DirectAdmin safely is essential whenever your WordPress Site Health dashboard warns that your server is running an outdated PHP branch. Upgrading to PHP 8.3 or PHP 8.4 improves page speed, reduces memory overhead, and keeps your site covered by active security patches—but flipping the version switch without preparation can trigger a fatal error or white screen of death.
Most WordPress breakages after a PHP switch happen for two predictable reasons: either an outdated plugin or theme uses deprecated code removed in PHP 8.x, or the new PHP branch starts with default extension and php.ini settings (such as a low memory_limit or missing imagick extension).
In this guide, you will learn the exact order to back up WordPress, test compatibility, change PHP version in DirectAdmin via Domain Setup or Select PHP Version, restore critical extensions and memory limits, and roll back in seconds if anything goes wrong.
Table of Contents
Why Changing PHP Versions in DirectAdmin Can Break WordPress
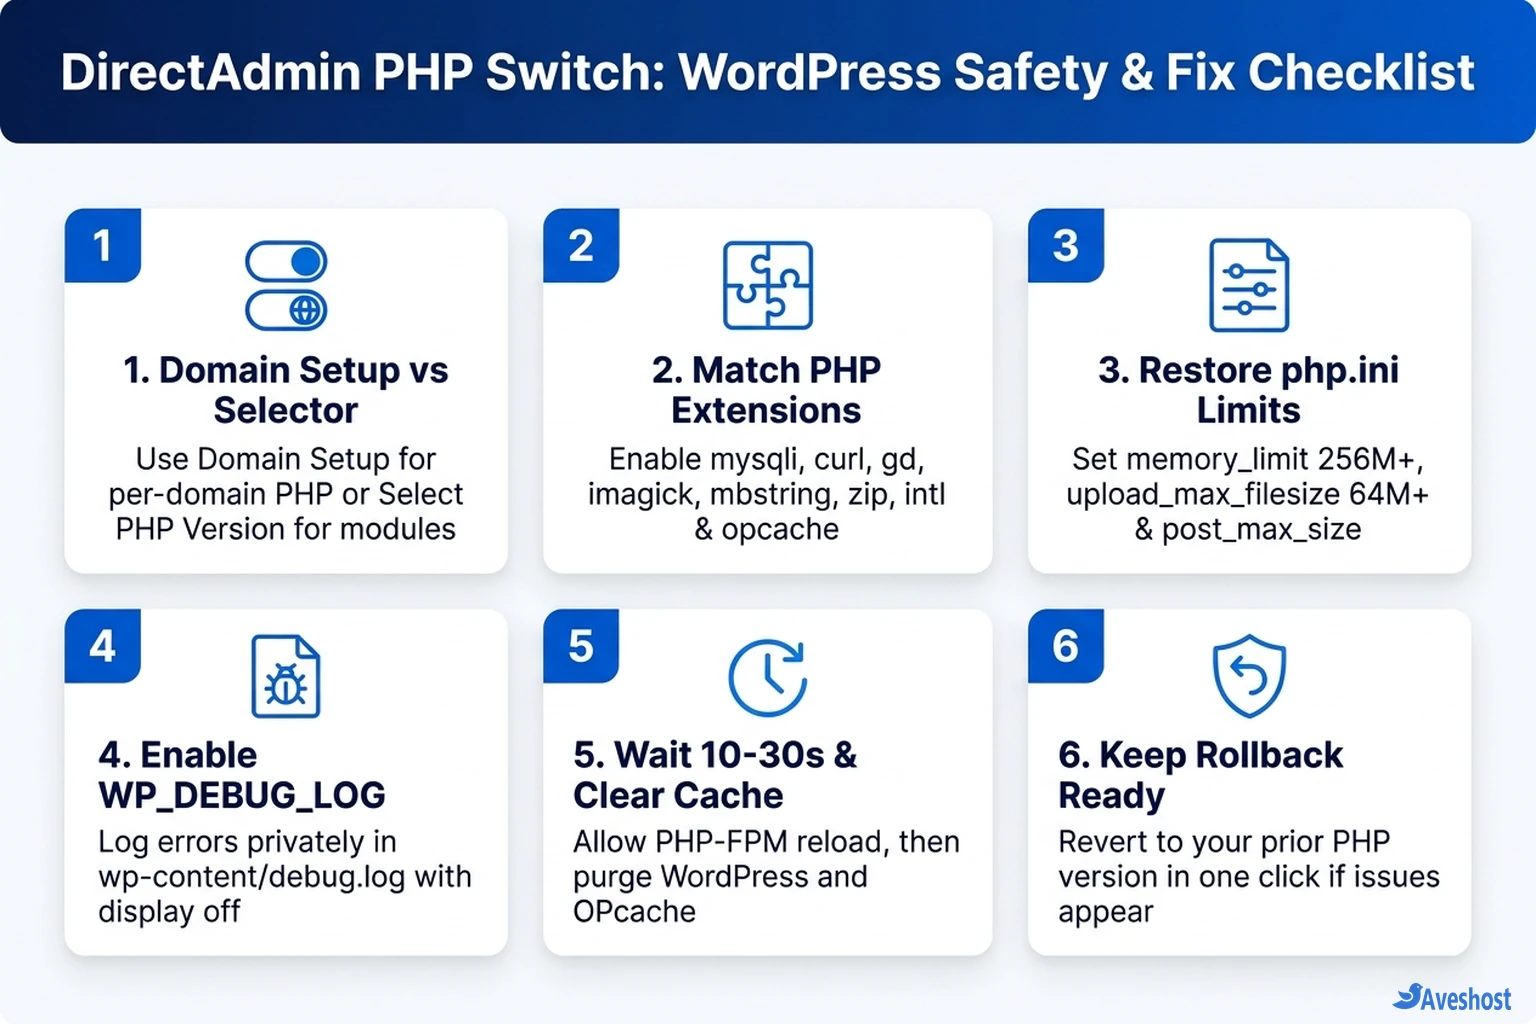
WordPress core is carefully tested against modern PHP releases, including PHP 8.3 and PHP 8.4. When a site crashes right after you change PHP version in DirectAdmin, the culprit is almost always one of three environment mismatches rather than WordPress core itself:
• Incompatible Plugins or Custom Theme Functions: Older plugins written for PHP 7.4 or PHP 8.0 may rely on removed functions or trigger fatal type errors under PHP 8.2, 8.3, or 8.4.
• Per-Version PHP Extensions Reset: In DirectAdmin setups with per-version extension selectors, switching from PHP 8.1 to PHP 8.3 loads a separate extension profile. If mysqli, curl, gd, imagick, or zip is unchecked on the new branch, WordPress can fail to connect to MySQL or process media.
• Default php.ini Resource Limits: Each PHP branch can carry its own memory_limit, upload_max_filesize, and max_execution_time. WooCommerce, Elementor, and page builders often exceed a low default 128M memory limit.
| Symptom After PHP Switch | Most Likely Cause | Fastest Fix |
|---|---|---|
| Critical error / White Screen of Death | Outdated plugin or theme calling removed PHP function | Check debug.log, disable offending plugin, or roll back PHP in DirectAdmin |
| Error establishing a database connection / missing PHP extension notice | mysqli or pdo_mysql unchecked on the new PHP version | Open Select PHP Version -> Extensions and enable mysqli + required modules |
| Allowed memory size exhausted or upload fails | New PHP branch reverted memory_limit or upload_max_filesize | Raise memory_limit (256M+) and upload_max_filesize (64M+) in PHP Options |
| WordPress Site Health still shows old PHP version | Browser/page cache, subdomain override, or 10-30s FPM reload delay | Wait 30 seconds, purge WordPress cache, and check Sub-Domains Setup |
Step 1: Back Up and Prepare WordPress Before Switching PHP
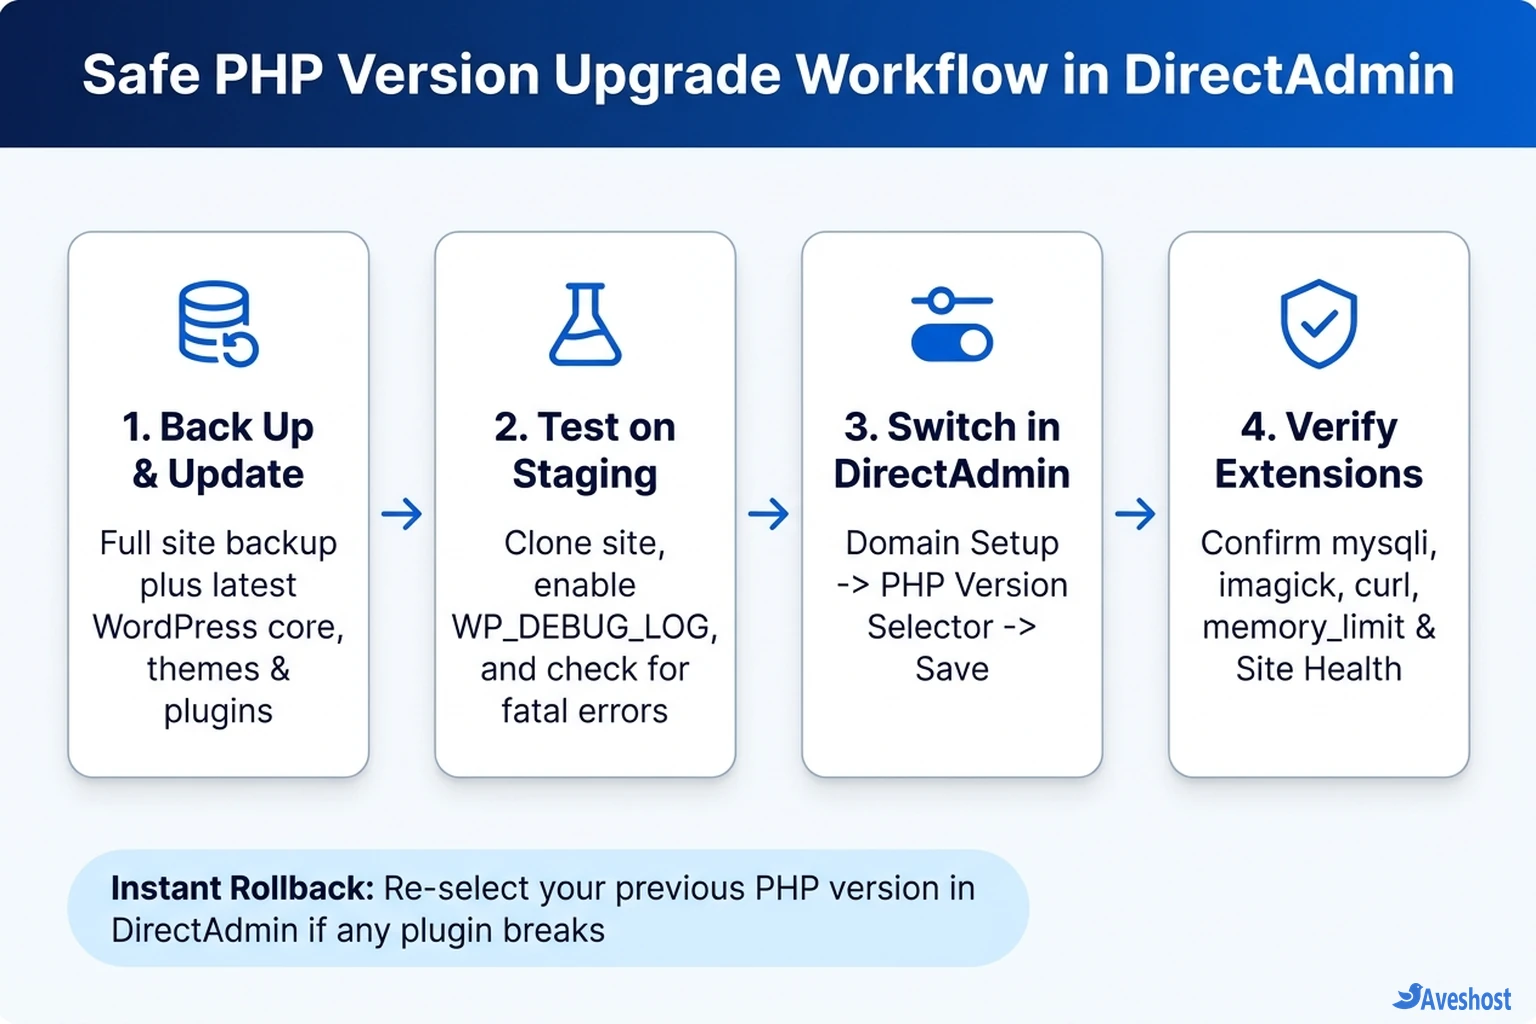
Before you change PHP version in DirectAdmin, spend five minutes preparing WordPress so an unexpected plugin conflict never takes down live visitors. Following the official WordPress PHP upgrade guidelines prevents nearly every common migration failure.
• 1. Take a Full Backup: Create a complete backup of both your WordPress files (wp-content, wp-config.php) and your MySQL database through DirectAdmin’s backup tool or your WordPress backup plugin.
• 2. Update Core, Themes, and Plugins First: Plugin authors routinely ship PHP 8.3 and 8.4 compatibility fixes in routine updates. Follow our guide on how to safely update WordPress with staging and rollback checks before changing server runtimes.
• 3. Clone to Staging (Recommended for Busy Sites): If you run WooCommerce or a high-traffic business site, clone it to a staging subdomain, switch only the staging subdomain to the target PHP version in DirectAdmin, and test checkout, forms, and wp-admin.
// Add to wp-config.php (above "That's all, stop editing!") on staging or during debugging
define( 'WP_DEBUG', true );
define( 'WP_DEBUG_LOG', true );
define( 'WP_DEBUG_DISPLAY', false );
Step 2: How to Change PHP Version in DirectAdmin (2 Built-In Methods)
Depending on how your server is configured, DirectAdmin exposes two user-level menus to switch PHP. Check which menu appears in your DirectAdmin Evolution dashboard—both are documented in the official DirectAdmin Multiple PHP documentation.
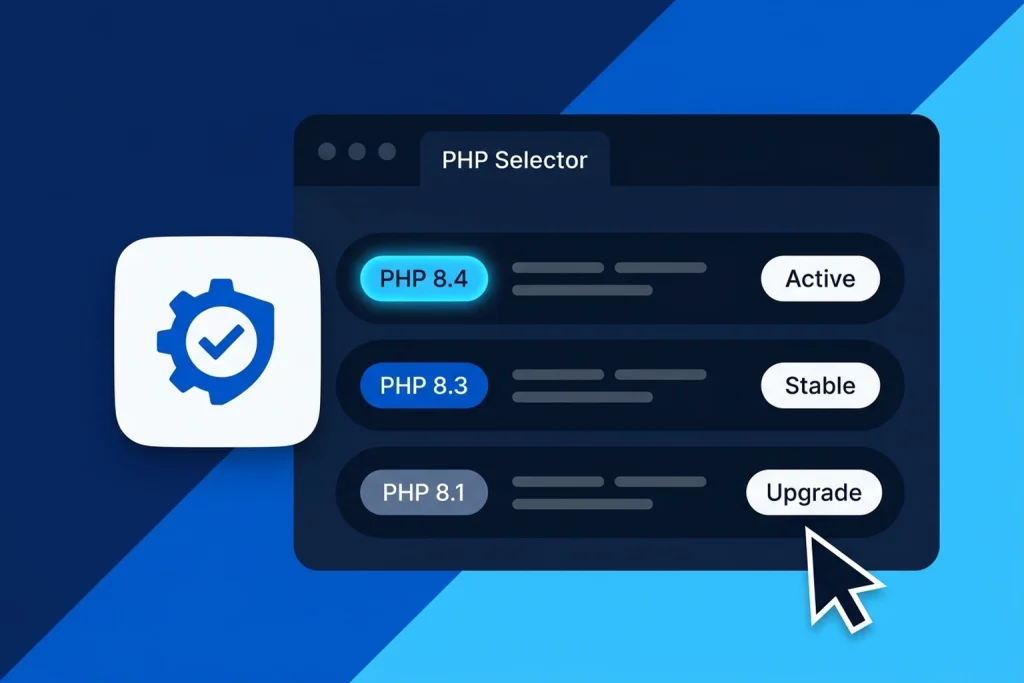
• Method A — Domain Setup (Per-Domain PHP Selector): Log in to DirectAdmin, open Account Manager → Domain Setup, and click your target domain name. In the domain settings panel (under Useful Links on the right), click PHP Version Selector. Pick your target version (such as PHP 8.3 or PHP 8.4) from the dropdown and click Save.
• Method B — Select PHP Version (Extensions & Options Included): Navigate to Extra Features → Select PHP Version (or Account Manager → PHP Settings). Choose your target PHP version from the current PHP version dropdown and click Apply or Set as current.
• Changing PHP for a Staging Subdomain: If you only want to test a staging subdomain first, open Account Manager → Sub-Domains Setup, select the subdomain, and assign its own PHP version without touching your live root domain. Allow 10 to 30 seconds after saving for DirectAdmin to reload PHP-FPM.
Step 3: Restore Required WordPress PHP Extensions and Limits
Right after you change PHP version in DirectAdmin, verify that your new PHP branch has the extensions and resource limits WordPress expects. Missing image or database extensions are a frequent cause of silent media upload failures or white screens.
In Extra Features → Select PHP Version → Extensions, confirm these essential modules are enabled: mysqli, curl, dom, exif, fileinfo, gd, imagick, intl, mbstring, openssl, xml, zip, and opcache.
Next, open the Options tab (or Account Manager → PHP Settings) and set WordPress-friendly php.ini limits—especially if you run WooCommerce, Elementor, or media-heavy sites. If you manage your own VPS via SSH, you can also apply these values inside your custom php.conf.d override file.
# Recommended WordPress limits in DirectAdmin PHP Options or /usr/local/php83/lib/php.conf.d/99-custom.ini
memory_limit = 256M
upload_max_filesize = 64M
post_max_size = 64M
max_execution_time = 300
Step 4: Verify Your Live Site, Check Site Health, and Debug Safely
Once DirectAdmin finishes reloading PHP-FPM, purge any WordPress page cache or object cache, then open your WordPress admin dashboard and go to Tools → Site Health → Info → Server. Confirm the PHP version row reflects your new branch.
Click through your homepage, navigation menus, contact forms, login page, and WooCommerce cart/checkout. If you encounter a fatal error or blank screen, temporarily enable private debug logging in wp-config.php so errors write to wp-content/debug.log instead of displaying on screen to visitors.
As soon as your debug log reveals which plugin triggered the fatal error, you can either update/replace that plugin or rename its folder inside wp-content/plugins/ via DirectAdmin’s File Manager. And if you need your site back online immediately while you fix it, simply open DirectAdmin’s PHP Version Selector and switch back to your previous PHP branch—rollback takes less than 30 seconds. You can also follow our guide on checking PHP security updates on your website to ensure your chosen branch stays patched.
# Optional (VPS / Admin SSH): verify or enable DirectAdmin Multiple PHP via CustomBuild
da config-set php_version_selector 1
da build set php1_mode php-fpm
da build set php1_release 8.3
da build set php2_release 8.4
da build php
da build rewrite_confs
Keep WordPress PHP Upgrades Smooth on Shared Web Hosting and VPS
Whether you run your WordPress sites on shared web hosting, fully managed VPS hosting, or self-managed VPS hosting with Aveshost, keeping multiple supported PHP branches available makes upgrades stress-free.
On shared web hosting and fully managed VPS hosting, patched PHP 8.2, 8.3, and 8.4 builds are pre-installed so you can test on a staging subdomain and switch production in seconds. On self-managed VPS hosting, you control which PHP-FPM pools are compiled via CustomBuild and can pair PHP upgrades with uptime monitoring in Uptime Kuma and passkey login hardening for WordPress.
Frequently asked questions
Where do I change the PHP version in DirectAdmin?
Log in to DirectAdmin and open Account Manager -> Domain Setup, click your domain name, and select PHP Version Selector under Useful Links. On servers using CloudLinux PHP Selector or CustomBuild PHP Settings, you can also go to Extra Features -> Select PHP Version or Account Manager -> PHP Settings.
How long does it take for a DirectAdmin PHP version change to apply?
DirectAdmin typically applies PHP version changes within 10 to 30 seconds while PHP-FPM and web server configurations reload. Afterward, clear your WordPress page cache and verify the active version under Tools -> Site Health -> Info -> Server.
What should I do if WordPress shows a critical error after changing PHP?
Open DirectAdmin’s PHP Version Selector and switch right back to your previous PHP version for an instant rollback. Then enable WP_DEBUG_LOG in wp-config.php or test on a staging subdomain to identify and update or replace the incompatible plugin or theme.
Will changing PHP versions in DirectAdmin delete my WordPress files or database?
No. Changing the PHP version only switches the server-side PHP interpreter executing your code. Your WordPress files, uploads, and MySQL database remain untouched, though you should always take a full backup beforehand in case a plugin throws errors.
Which PHP extensions and limits should I enable for WordPress in DirectAdmin?
Make sure mysqli, curl, dom, exif, fileinfo, gd, imagick, intl, mbstring, openssl, xml, zip, and opcache are enabled. In PHP Options, set memory_limit to at least 256M (512M for WooCommerce or page builders), upload_max_filesize to 64M or higher, and post_max_size equal to or larger than upload_max_filesize.